The Hidden Purpose Behind That Tiny Hole in a Safety Pin
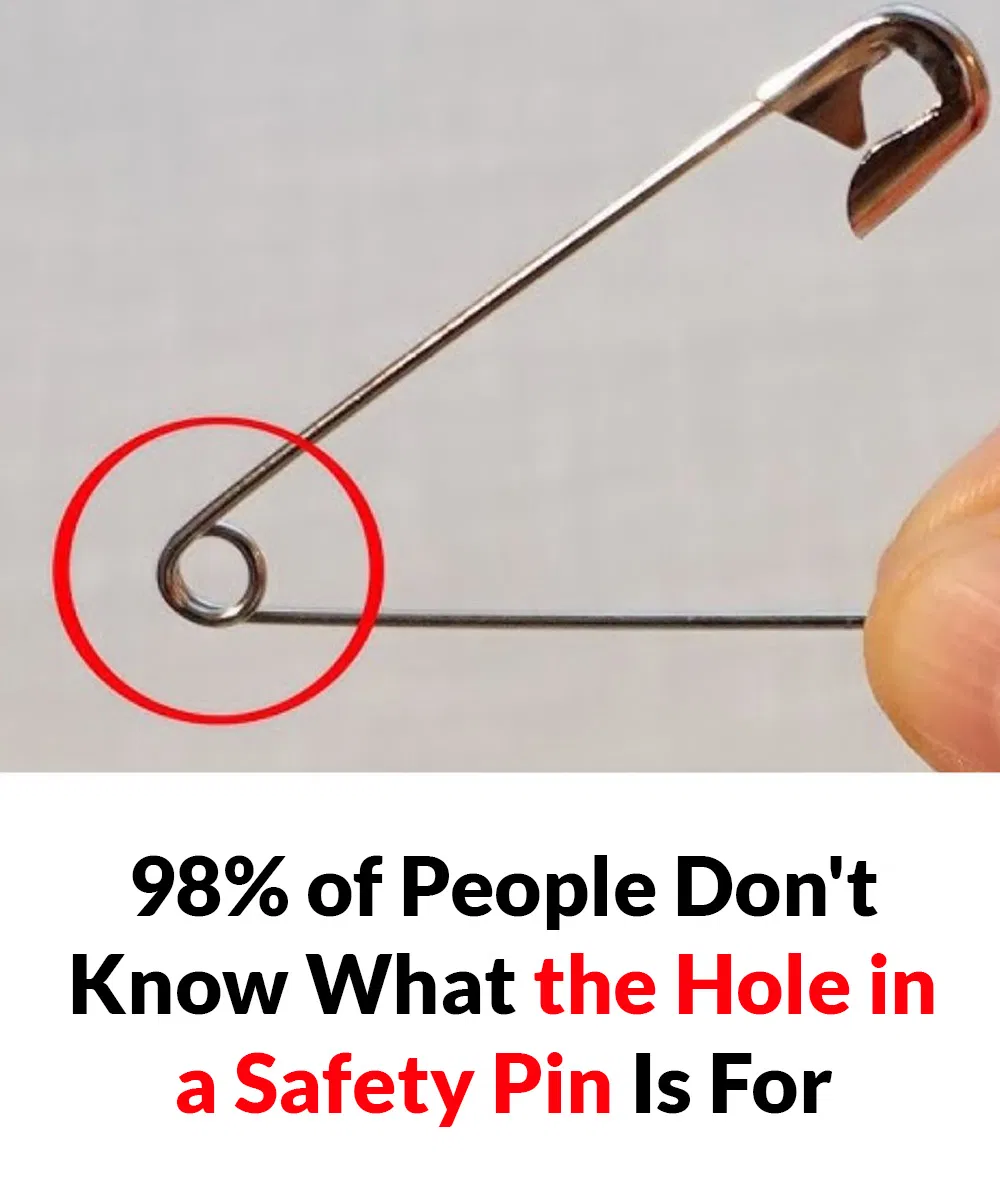
If you have ever used a safety pin, you have probably noticed that small hole near the clasp and wondered what it is for. Believe it or not, that tiny detail serves a clever purpose that most people have completely overlooked. It is one of those small design secrets hiding in plain sight in an object we have all used a thousand times.
A Brief History of the Safety Pin
Sewing has evolved dramatically over the centuries, from basic hand stitching to high-speed sewing machines. The safety pin itself was patented in 1849 by Walter Hunt, an American inventor who reportedly came up with the design in a matter of hours to settle a debt. His invention, a coiled spring with a clasp to cover the sharp point, was elegant, safe, and instantly useful.
Yet, some traditional techniques and tools, like the humble safety pin, still hold secrets that can make sewing easier, faster, and far more efficient. The tiny hole near the clasp is one of the best examples.
The Big Reveal: What the Hole Is For
Here is the answer: that small hole at the end of a safety pin is not just for decoration. It is designed to hold a thread, string, or narrow cord, making it easier to pull elastic or ribbon through fabric casings like waistbands or sleeves.
Anyone who has tried to thread elastic through a waistband knows the frustration. The elastic twists, bunches, or disappears into the fabric tunnel, and you end up fishing it out with tweezers. The safety pin trick solves this elegantly:
1. Tie or loop your thread, string, or cord through the tiny hole at the end of the pin
2. Close the pin and attach it to the end of the elastic or ribbon
3. Feed the pin through the casing, using the string as a guide and backup
4. By attaching a string through the hole, you gain better control and prevent the pin from slipping inside the fabric
It is a simple yet genius design feature that saves time and frustration, and it has been there all along.
A Forgotten Trick That Is Making a Comeback
While modern sewing relies on digital patterns and advanced tools, generations before us mastered smart, simple methods that worked beautifully. Now, some of those timeless tricks are returning, and they can transform how you sew.
One of the best examples is beeswax. Before sewing, run your thread gently across a small block of beeswax. This quick step helps strengthen the thread, reduce tangles, and create smooth, sturdy stitches. It is a tiny effort that delivers big results, especially for hand sewn projects. Quilters and tailors have used this trick for centuries, and it still outperforms many modern alternatives.
5 Timeless Sewing Hacks Every Crafter Should Know
Here are a few classic sewing tips that still work wonders today:
1. Mark Fabric Using Dry Soap
Do not have tailor’s chalk or a fabric pen? A piece of dry soap works perfectly. It leaves visible lines that easily wash away and will not damage your material. It is a budget-friendly trick every sewer should know, and it uses something you already have in the bathroom.
2. Reinforce Seams with Backstitching
To keep your seams from unraveling, go back over the last few stitches at the end of each line. This simple backstitching step strengthens your seams, making garments and crafts more durable. It takes seconds and doubles the life of your stitching.
3. Pin Diagonally for Better Stability
When securing fabric, insert your pins at an angle instead of straight across. It holds layers in place more firmly and prevents slipping. As a bonus, angled pins are easier to remove as you sew, since they slide out smoothly in the direction of your stitching.
4. Create Strong, Neat Knots Effortlessly
Wrap your thread several times around your needle before pulling it through. This forms a secure, compact knot, sometimes called a French knot variation for thread ends, that stays put even after multiple washes. No more knots that pull through or come undone in the laundry.
5. Use the Safety Pin Hole for Elastic and Cord
As revealed above, the tiny hole is your secret weapon for threading elastic, drawstrings, and ribbon through casings. Attach a guide string through the hole for maximum control.
More Clever Uses for Safety Pins
Beyond the hole trick, safety pins are one of the most versatile tools in a crafter’s kit:
- Emergency hems: Pin up a fallen hem in seconds when you cannot sew
- Zippers: Attach a safety pin to a broken zipper pull as a temporary handle
- Jewelry repair: Use as a makeshift clasp for a broken bracelet
- Keeping socks together: Pin pairs together before laundry so they never get separated
- Basting: Use large safety pins to baste quilt layers instead of thread
- First aid kits: A few pins can secure bandages or slings in a pinch
Why Old Tools Still Matter
There is a reason these low tech solutions endure. They are cheap, reliable, and they work without batteries, apps, or updates. The safety pin has barely changed in more than 170 years because it barely needed to. Every detail, including that tiny mysterious hole, earned its place through generations of real world use.
The next time you pick up a safety pin, take a look at that little hole and appreciate it. It is a reminder that good design often hides its cleverness in the smallest details.
Frequently Asked Questions
What is the tiny hole in a safety pin for?
It is designed to hold a thread, string, or narrow cord, giving you better control when pulling elastic or ribbon through fabric casings like waistbands or sleeves, and preventing the pin from slipping inside the fabric.
Who invented the safety pin?
American inventor Walter Hunt patented the modern safety pin in 1849. He reportedly designed it in a few hours to repay a debt, then sold the patent for a small sum.
How do you thread elastic through a waistband with a safety pin?
Attach a large safety pin to one end of the elastic, optionally threading a guide string through the pin’s tiny hole, then feed the closed pin through the casing, scrunching the fabric along as you go.
What is the beeswax trick in sewing?
Running thread across a block of beeswax before hand sewing strengthens the thread, reduces tangling, and produces smoother, sturdier stitches. It is a centuries old technique still used by quilters and tailors.
Can I mark fabric without tailor’s chalk?
Yes. A piece of dry soap leaves clear, washable lines on fabric and will not damage most materials, making it a handy substitute in a pinch.